

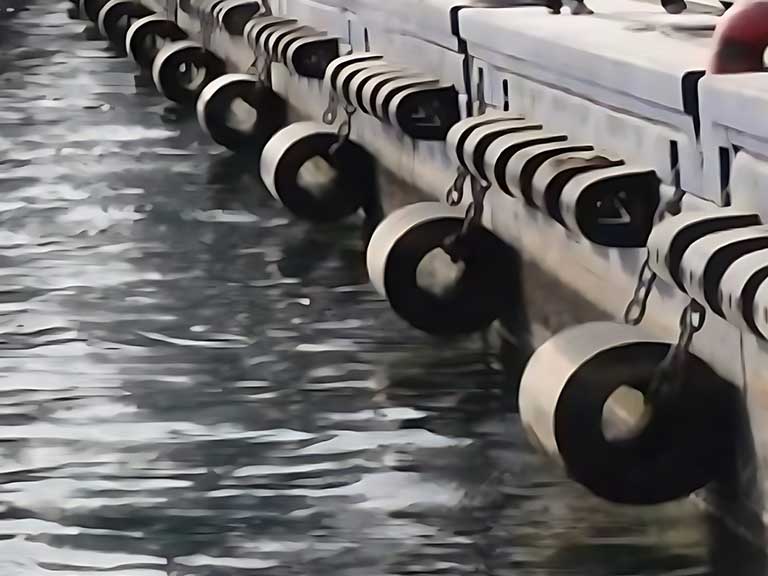
Proper installation determines if cylindrical rubber fenders will protect vessels and quay structures as designed. Poor alignment, weak anchors, or uneven suspension can turn strong marine rubber fenders into a constant maintenance problem. At Zhonghaihang Shipping Supply, we treat cylindrical fender installation as a precise site task, never a “hang and hope” process.
Cylindrical Rubber Fenders: Basics and Site Fit
Cylindrical fenders perform best when the berth contact line aligns with the fender centerline and the structure supports the anchor loads. The fender is a hollow rubber tube that compresses on contact. It still needs accurate positioning and secure fittings to work well.
If the wall surface is uneven, weak, or dirty, installation success depends heavily on surface preparation and anchor quality. These fenders mount horizontally, vertically, or diagonally based on the contact zone.
A “standard size” does not replace on-site checks. Always verify the actual diameter, length, and bore condition of the delivered fender against drawings and supplied hardware.
Site fit goes beyond geometry. Consider access for lifting, a safe distance from the water edge, and room for future inspections. Limited access calls for a mounting method that allows fast replacement and easy checks of chains, shackles, and anchors.
Pre-Installation Checklist
Installation runs smoothly when the crew finishes a quick checklist. This confirms surface, anchors, tools, and the lifting plan before drilling or lifting begins. The goal is to avoid misaligned holes, cross-threading, or rushed decisions at the quay edge. If any item fails, pause and fix it before the fender leaves the ground.
Start with the work area and safety. Make sure the crew has proper PPE for dockside work. Confirm that the lifting device suits the fender length and handling method. For longer units, plan how to control bending and swing during the lift using soft slings and a proper spread.
Next, check the installation surface and anchor zone. The wall must be sound, clean, and stable. Loose coatings, marine growth, or crumbling concrete weaken anchor performance. Mark the layout from a clear reference line. Verify spacing with at least two measurements so the final fender line matches the vessel contact area.
Finally, stage all hardware and protection items. Prepare chains, shackles, rods or bars (if used), U-anchors or mounting plates, bolts, nuts, washers, and corrosion protection such as coatings or grease. Check threads and fit-up before lifting. Forcing connections under load often damages threads and creates uneven tension.
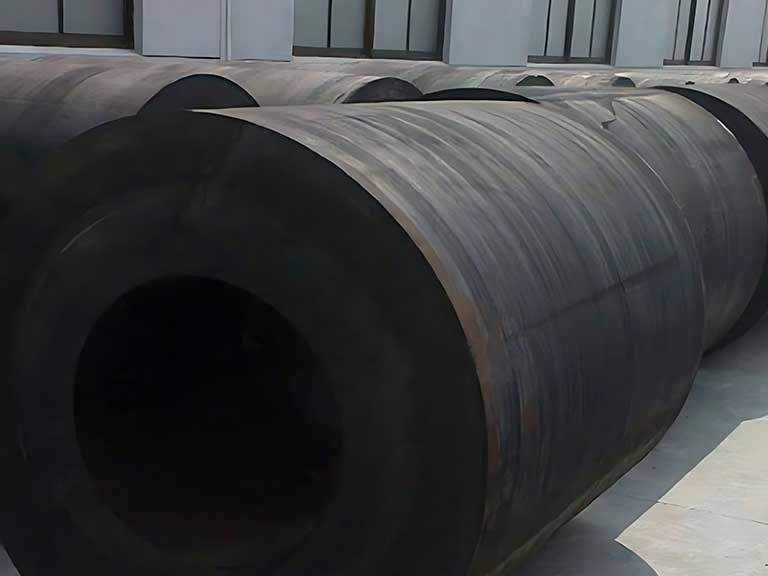
Pre-Installation Checklist (Use on Site)
| Check Item | What to Verify | Why It Matters |
|---|---|---|
| Wall condition | Flat enough for fit-up; clean; no loose coating or weak substrate | Reduces anchor failure and uneven contact |
| Layout reference | Centerline marked; spacing confirmed from a single datum | Prevents cumulative alignment errors |
| Anchor points | Hole locations clear; hardware matches mounting plates/U-anchors | Avoids rework and misfit under load |
| Rigging plan | Soft slings; lift path; swing control; access clearance | Protects rubber and improves handling safety |
| Hardware readiness | Chains/shackles not twisted; threads clean; washers and nuts staged | Prevents cross-threading and uneven tension |
| Corrosion protection | Coating/grease plan for exposed metal parts | Slows corrosion in saltwater environments |
Installation Methods and Typical Uses
Choose the mounting method that fits your berth structure, expected movement, and maintenance access. Cylindrical fenders commonly use rod-and-bar restraint, chain suspension, or ladder-style chain restraint. Each method works well in the right conditions and fails predictably in the wrong ones.
Rod-and-bar fitting suits installations that need strong restraint and stable positioning on fixed quay walls. The bar runs through the fender bore and connects at both ends to fittings and anchors. This distributes the load and limits sideways drift. It fits larger vessels and berths with minimal vertical travel.
Chain fitting works best when flexibility and quick replacement matter. The fender hangs by chains at both ends without a center bar. This simplifies handling and reduces hardware inside the bore. It is common on dolphins, barges, and sites where some movement lets the fender follow contact.
Ladder fitting helps when vertical control matters most. Multiple chains limit sway and keep the fender stable over a wide tidal range or repeated vertical shifts. It reduces unwanted drift but requires balanced tension and consistent anchor placement.
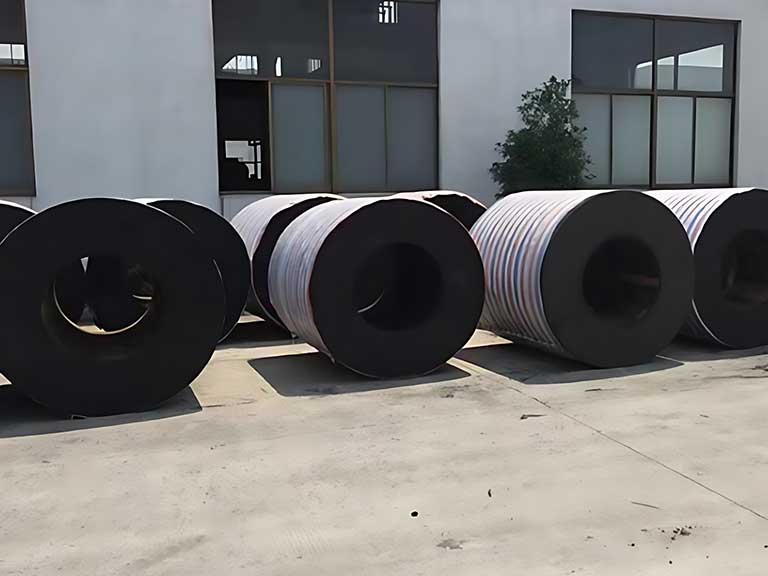
Step-by-Step Installation Workflow
A reliable installation follows a set sequence: mark, anchor, pre-assemble, lift, connect, align, protect, and verify. This process keeps the fender controlled and reduces the chance of a twisted chain or an off-center fender. If you can’t confirm a step, stop and correct the issue before moving on.
- Mark and Anchor: Use the site reference to mark the fender’s centerline and anchor hole locations. Drill the holes as required for the anchors and base material. Confirm the anchors and plates are seated correctly before lifting the fender.
- Pre-Assemble: Assemble as much as possible on a flat, safe area. For rod-and-bar fitting, insert the bar and connect the end hardware so the fender can be lifted as one unit. For chain fittings, prepare chain lengths and make sure they are not twisted.
- Lift and Position: Lift the fender slowly with soft slings to protect the rubber surface. Use tag lines if needed to prevent spinning. Do not drag the fender on rough surfaces, as cuts can become weak points.
- Connect and Adjust: Attach the fender to the anchors. Connect chains or bar ends to the U-anchors or mounting plates, keeping both sides equal so the fender hangs straight. Allow enough slack for water level changes, but keep it balanced to prevent tilting.
- Align and Check: Align the fender with the intended contact line. Use a level and reference marks to check its position. Push the fender by hand to confirm it moves freely without hitting the wall.
- Protect and Verify: Apply coatings or grease to exposed metal as planned. Use locking methods that match the hardware. Record the final position, hardware details, and installation date for future inspections.
Post-Installation Inspection and Maintenance Plan
Inspect after installation to confirm alignment, secure attachments, and expected movement before normal use. A quick check right after work beats finding issues after the first heavy berthing. Treat any failure as a correction task, not something to monitor later.
First, check geometry and attachment. Verify anchors are seated, shackles pinned correctly, and chains untwisted. Ensure the fender sits on the intended centerline with similar angles and tension on both sides.
Next, confirm protection and documentation. Check corrosion protection on exposed metal and look for rubber damage from handling. Take photos and note details so future teams can match the original setup during replacement.
Plan maintenance based on exposure and traffic, but keep it simple. High-traffic berths need frequent visual checks. Schedule hardware inspections for corrosion and loosening, since metal parts often degrade faster than rubber. In harsh conditions or high vibration, shorten intervals and record changes.
Learn More: How To Maintain And Clean Rubber Fenders?

Common Problems and Quick Fixes
Most installation problems appear as tilting, drifting, or rapid corrosion of metal parts. These issues usually point to uneven chain length, anchor placement errors, or missing corrosion protection. A reliable fix addresses the root cause, not just the symptom.
- Tilting or Drifting: If a fender tilts or moves sideways, first check the chain length and tension on both sides. Correct any mismatch. Also look for a twisted chain or shackle that is forcing the fender to rotate.
- Wall Contact: If a fender hits the wall during water level changes, the slack may be incorrect or the anchors may be pulling it inward. Adjust the chain length to provide clearance through its full range of motion. If that doesn’t work, the installation geometry needs review.
- Rapid Corrosion: If hardware corrodes quickly, it is likely due to a lack of protection. Clean and reapply the planned protective coating or grease. Replace any components that show significant damage.
- Loose Anchors: Treat loose anchors as a critical issue that requires an immediate stop. Re-check the base material, hole condition, and anchor system. Reset or replace the anchors as needed. Operating with loose anchors can lead to major structural repairs.
Conclusion
A successful cylindrical rubber fender installation matches the method to the berth, uses reliable anchors, and keeps suspension symmetrical. Disciplined preparation, controlled lifting, and clear post-installation records lead to long-term stability. Consistent processes and routine hardware maintenance make inspection, adjustment, and replacement easier over time.
FAQ
What surface condition is acceptable before installing cylindrical rubber fenders?
How do we choose between rod and bar, chain, and ladder fittings?
How do we confirm alignment during installation?
How much movement should the fender have after installation?
How often should we inspect cylindrical rubber fenders and their hardware?
Can adhesive be used to secure cylindrical rubber fenders?
Talk to our team.
Share a few details about your project — vessel, port, or operation. We'll reply within 24 hours.